Friday, 12 June 2015

Oh Boy! Am I overdue a blog post or what!?!

The last month or so has been sooo crazy with the builders still here...yes, they're stillllllllll here!!! Will they ever finish I wonder?!?! I don't know what it is about builders but they definitely seem to be a law unto themselves...I'm surprised I have any hair left, having pulled so much of it out! Can someone please tell me why they never seem to finish one job before starting another one? 

Anyway, not long now, as it's the last few bits and pieces that need doing like a second coat of paint on the woodwork, touching up the walls here and there where they've managed to mark or dent them, finishing off the sink unit and plastering (yes, plastering) around the inside of the external door...ooh and fixing the handle on the internal door (funny, but I think I'd find one rather useful). Well that's my excuse for not blogging for over a month! Hey ho...here's an update on progress so far...
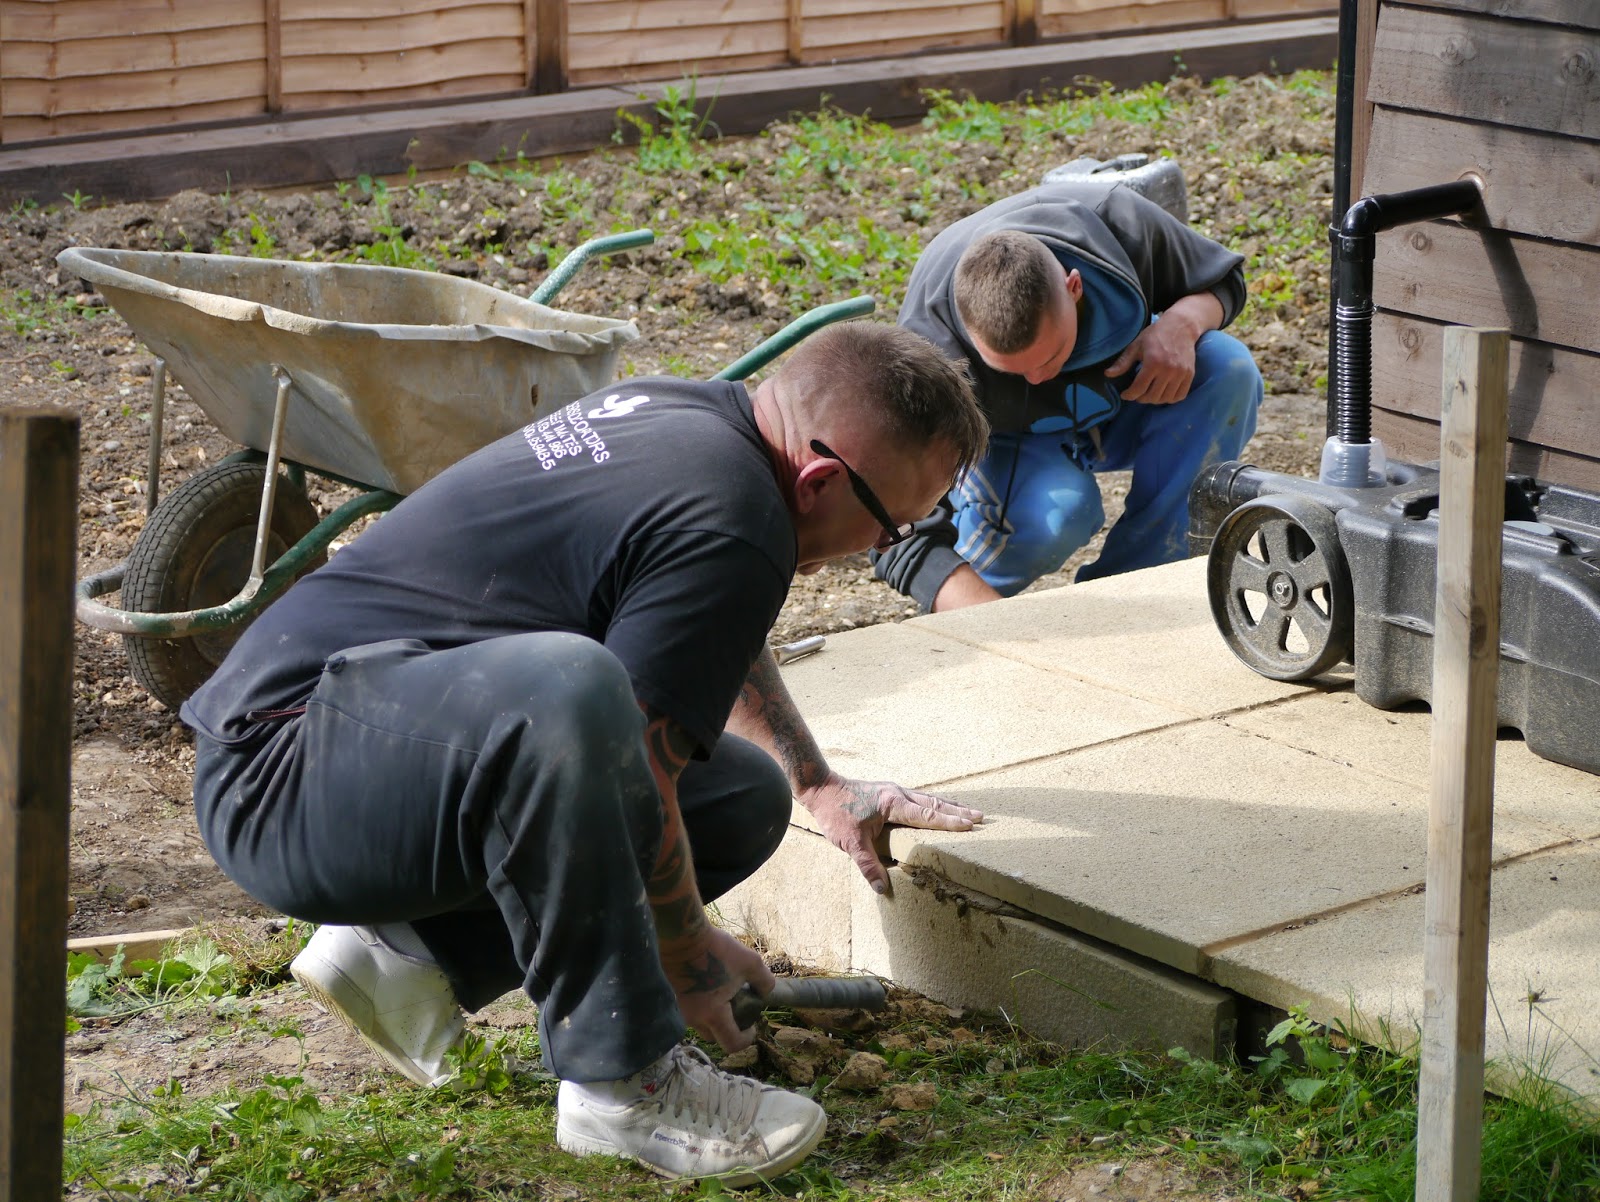
The last slab is laid at last!

Looking good with just a little pointing, weather striking and 2nd coat of stain in a few places to go on the outside.

At last there is an internal door (though no handle as yet) and the sink unit and plumbing is in (almost!).

My short break in the South of France was lovely, although it seems like a lifetime ago now! I didn't get much crochet done in the end but took loads of photos as inspiration for future projects. :) Here's a couple of murals I spotted in Cannes...hmm maybe I should think about doing some in my new studio...(lol)

This one's clever...


But this one's my favourite...


I'm a sucker for the movies. So...how many famous stars of the silver screen can you recognise? (I think I know about 30 in all, including the man in the moon - not sure who the two chaps are to the left of Harold Lloyd or who the couple are to the left of Mickey Mouse. I think I recognise the chap but can't think of his name. Same too for the woman next to Laurence Harvey.)

Working whilst all the building work has been going on has been somewhat of a trial to say the least, but yesterday was so gorgeous I decided it was time to sit outside in the sunshine and top up my vitamin D whilst making up some earrings with some of my Efcolor enamelled scales and crystals...


There's still many more colour combinations I could do...with Efco's Efcolor powders there are never-ending possibilities! 

To create your own, first basecoat your blanks with one colour of Efcolor powder. When cool, cover with another thin layer of powder before adding one or two more colours at one end and reheating. When cool, apply some metal leaf, add a thin layer of transparent powder and then reheat. When cool, use eyepins to add a crystal and connect the scales to the earwires.

I do hope you all enjoyed the sunshine while it lasted...fingers crossed we get more throughout the summer. :)

As always....happy crafting!


Friday, 1 May 2015

Crochet Links

I'm on holiday this week doing a spot of crochet in the South of France so there's no post but I have a few interesting links for anyone interested in crochet...

The following links are for Crochet sites that have loads of links to free crochet patterns all over the world wide web:

http://www.allfreecrochet.com

http://www.redheart.co.uk/free-patterns


http://www.crochetme.com

And here are a few patterns that I thought looked rather interesting:


http://www.fiberfluxblog.com/2014/03/free-crochet-patternvanilla-chai-shawl.html


http://www.mooglyblog.com/leapingstripes-blocks-blanket-crochet/


http://www.hopefulhoney.com/2012/03/out-and-about.html


http://www.allfreecrochet.com/Seasonal-Crochet/Party-By-the-Pool-Coverup


http://www.favecrafts.com/Crochet-Sweaters/Lacy-Ruffle-Cardigan-Crochet-Pattern-from-Caron-Yarn

If like me you've always struggled with knitting then I strongly recommend you try crocheting...it's a lot easier to work with just one hook than two needles (at least in my opinion, lol).

If you have a favourite free pattern do post a comment below and share it with everyone else, thanks!

Happy Crocheting!


Friday, 24 April 2015

There's painting... and then there's painting!

Here I go again, making excuses as to why I didn't post anything last Blog Friday... ermm...well...I blame the builders - I kept getting interrupted with requests for tea and donuts... (that's because Blog Friday has now turned into Donut Friday, lol!).

So, what's new... the studio is coming along... slowly... painfully slowly at times... hey ho, better it's done right than done quickly. Oh, and one day last week I decided to have a go at painting the fence (so that it tones in with the nu studio), after all how hard could it be...


This was the result of a day's painting... albeit with several interruptions for tea, coffee, cold drinks and biccies .. and yes, my builders are still laughing their heads off almost a week later! Needless to say I think I should stick to decorative painting, don't you?!

So here I have a project which shows two different painting techniques...One very simple and easy to do for a novice painter and one a little harder for those wanting to try their hand at something more detailed.

Stencilled Suitcase

Materials:
Efco Papp Art Suitcase
Efco Cherry Blossom Stencil
Efco Decoupaint - Black, Cream, Orange, Yellow, Blue, Brown, Green, Pink, White
Efco Gold Decoupaint Patina
Pencil & Low Tack Tape
Assorted Brushes - Flat, Stencil, Round
Sea Sponge & Palette
Mod Podge
Napkin (if decoupaging the sides of the suitcase instead of painting them)


Step 1. Either paint or napkin decoupage the sides.


Step 2. Use a sea sponge to paint the bottom of the case with black Decoupaint. You may need to do two coats to get a good coverage.


Step 3. When dry, lay the stencil over the painted surface. (Hold in position with a little low tack tape.) Use a stencil brush to apply Efco's Gold Decoupaint Patina through the stencil. Remove the stencil whilst the paint is still wet. Leave the suitcase to dry whilst you clean the stencil with water.


The finished case bottom.


Step 4. Paint the suitcase lid with cream Decoupaint. Again, you may need to do a couple of coats of cream to get good coverage.


Step 5. Lay the stencil over the top of the dry paint and lightly trace around with a pencil.


Step 6. Water down a little yellow Decoupaint and, using a large flat brush, wash over the top two thirds of the surface with horizontal strokes. Then wash over the bottom third with some watered down blue.


Step 7. Use a small flat brush to paint the sun orange with touches of yellow brushed in circular motions.


Step 8. Paint the mountains blue, adding a little white to the blue towards the top and a little black and green towards the bottom edge.


Step 9. Add touches of pure white to the tops of the mountains for snow.


Step 10. Paint the distant tree - brown with touches of black at the edges for the tree trunk, and green with touches of blue and black for the leaves.


Step 11. You may well find that the design doesn't quite reach the edge of the suitcase. So extend the foreground tree trunk and add another flower or two.


Step 12. Paint the foreground tree trunk with brown, adding touches of black to darken the brown along the bottom edges - this will give it some dimension.


Step 13. Paint the leaves green adding touches of yellow to lighten parts of them to again give them dimension.


Step 14. Paint the flowers pink, adding touches of white to the pink around the outer edges of the petals. 


Step 15. Add spots of dark pink Decoupaint in the centres.


Step 16. When dry (allow approx. 24 hours to thoroughly dry), apply a couple of coats of Mod Podge to seal and protect the paint.


The finished case lid.

I think I will stick to decorative painting as this was a lot more fun than painting the fence (although I must admit I am very happy with the colour ;) lol).

If you want a shorter downloadable version of this project go to the painting page on Projects4Crafters.com.

Happy Painting!