Well I missed my Friday deadline (not a great start to the new year but hey ho!), better late than never though... I hope!
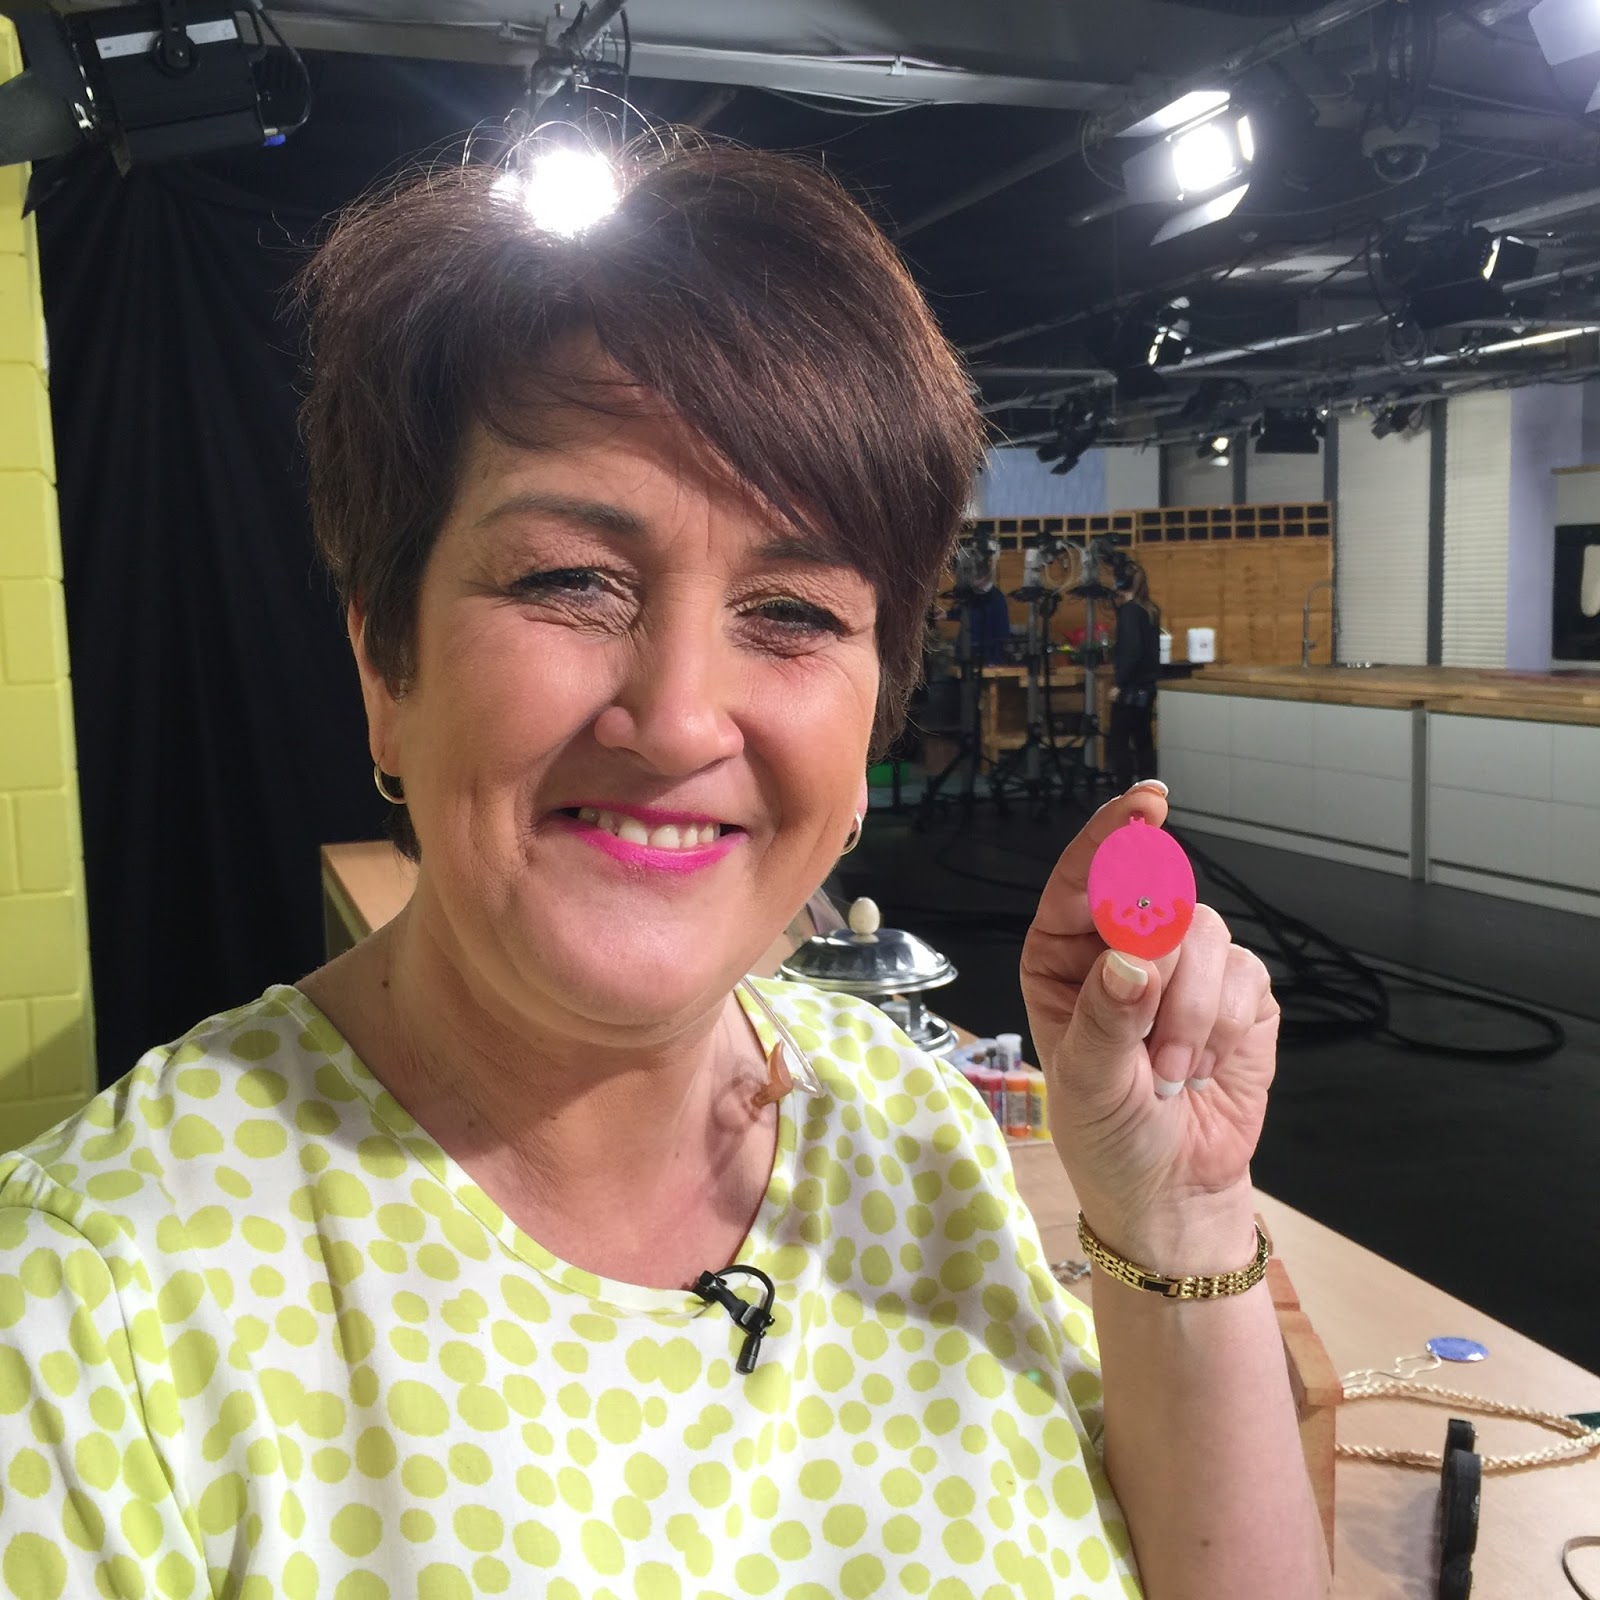
I've been playing with Efcolor this week in view of the Hochanda TV shows (24-25th Jan) and seeing what new techniques I can show everyone. One I rather like is the Sgraffito (also known as Scraffito or Sgraffiti) and here's a new sample of this fab technique...
Materials needed:
Efco Oval Copper Blank (99 185 29)
Efco Bright Pink Efcolor Powder (93 700 35)
Efco Turquoise Efcolor Powder (93 700 45)
Efco Tea Light Stove Set (93 717 06)
Fine Sandpaper
Versamark Ink Pad
Embossing Tool
Efco 3mm Swarovski Crystal (21 080 01)
Bright Pink Nymo Beading Thread
Efco Beading Needle (21 249 07)
Efco Turquoise Seed Beads
Efco Transparent AB Round Glass Beads 6mm (21 275 00)
Efco Light Pink Luster Matt Wax Beads 6mm (21 337 32)
Efco Silver Crimp Beads 1mm (21 872 91)
Efco Silver Blossom Chain (97 606 91)
Silver Jump Ring
Efco Silver Necklace Hook Finding (97 425 06)
Jewellery Glue
Tweezers, Pliers & Wire Cutters
Step 1. Lightly sand an oval blank. Cover it with a good layer of bright pink Efcolor and heat it on the tea light stove until the powder is melted.
Step 2. Leave the blank to cool before inking up the surface with a Versamark ink pad.
Step 3. Cover the pink Efcolor with a thin layer of turquoise Efcolor powder.
Step 4. Create your design by drawing an embossing tool through the powder.
Step 5. Before heating the blank to melt the turquoise Efcolor, use tweezers to position a flat-backed Swarovski crystal in the powder.
Step 6. When cool, clean the back of the enamelled blank with fine sandpaper to remove any stray enamel.
Step 7. Attach a jump ring to the enamelled blank.
Take 4 strands of bright pink nymo beading thread. Thread on a silver crimp bead, 3 seed beads, 1 pink bead, 5 seed beads, 2 crimp beads, 3 seed beads, 1 crystal bead and 5 seed beads. Then separate the threads, threading 2 of them through the jump ring, before joining them again and threading on 5 seed beads, 1 crystal bead, 3 seed beads, 2 crimp beads, 5 seed beads, 1 pink bead, 3 seed beads and another crimp bead.
Top Tip. As the nymo thread is so fine, add a touch of jewellery glue over the join in the jump ring to stop it becoming detached from the beaded necklace chain.
Step 8. Use pliers to flatten the first crimp beads either side of the pendant, making sure there is no slack in the thread or beads.
Step 9. Flatten the second crimp beads approximately 1 cm from the first, leaving the pink nymo thread visible.
Step 10. Use wire cutters to cut the fourth link from the end of the blossom chain to release 3 links.
Thread 2 nymo strands through the middle link and back through the last crimp bead and some of the beads.
Take the other 2 nymo strands and thread them through the middle link in the opposite direction and again back through the crimp bead and some other beads.
Step 11. Pull the threads tight before flattening the last crimp bead. You can tie a knot around the core threads with the ends for extra security if necessary before trimming the excess threads.
Then repeat steps 10-11 for the other side.
Step 12. Take 2 long lengths of bright pink nymph thread. Thread on 1 crystal bead, 5 seed beads, 2 crimp beads, 5 seed beads and a crimp bead on one end. Then thread the nymo strands through the middle link of the blossom chain and back through all the beads. Flatten the crimp bead next to the blossom chain. Slide the 5 seed beads down to the blossom chain before flattening the second crimp bead. Leave approximately 1 cm of exposed thread before flattening the third crimp bead.
Step 13. Take the other longer ends and thread on 3 seed beads, 1 pink bead, 3 seed beads, 1 crystal bead, and then enough seed beads until you reach the length of necklace chain that you want. Add on a crimp bead before attaching the threads to one end of the clasp. Then thread the ends back through the crimp bead and several seed beads. Flatten the crimp bead next to the clasp. Make sure the threads are secure before trimming the excess.
Repeat Steps 12-13 for the other side.
Top Tip. Add dabs of glue to the threads attached to either side of the jewellery finding for added security.
And you are done! :)
You will be able to see this necklace amongst others as well as watch me demonstrate this technique on the Hochanda Efcolor One Day Special (24-25th January). Hope to 'see' you there ;)
Happy crafting!